In own behalf: New blog about wilderness trekking
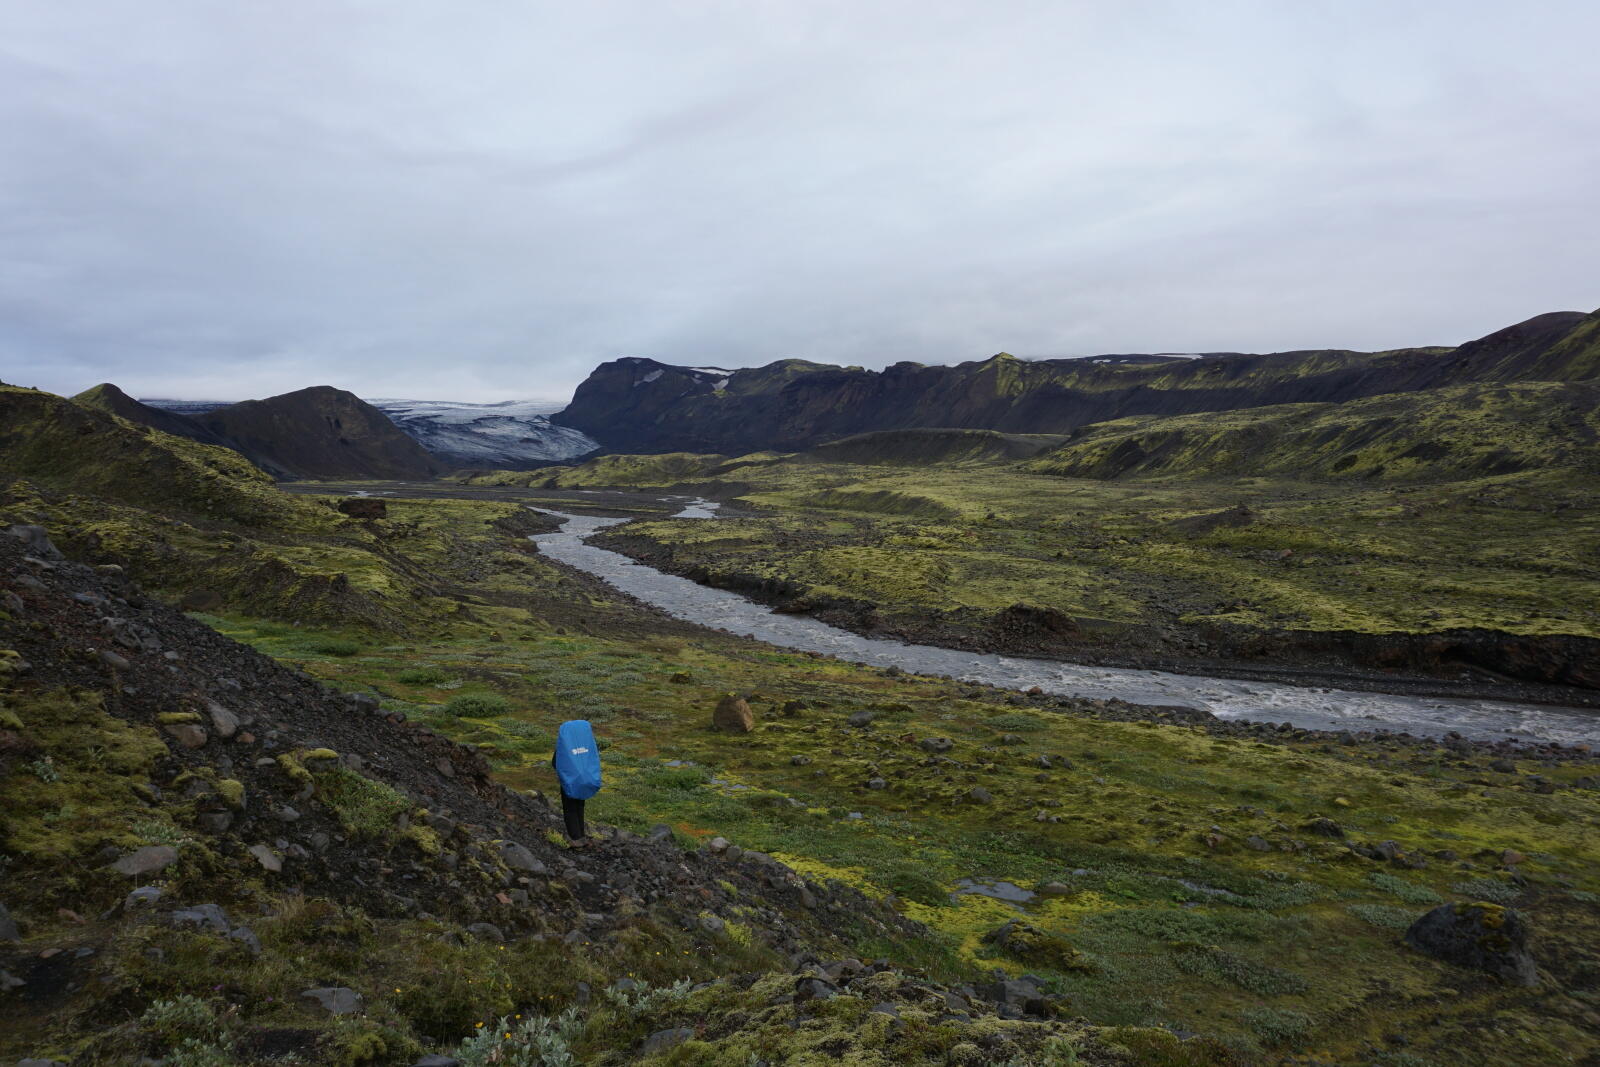
Our first tour in Iceland: Three weeks without civilization.
This is a off-topic post in own behalf: I just created a new blog about wilderness trekking and everything in that area.
Wilderness trekking?
The term trekking describes hiking during multiple days in hardly to not developed areas. Therefore wilderness trekking is trekking in the wild where no campsites, supermarkets or civilization exists. Where cellphone networks do not work, you’ll find my girlfriend and me.
The Blog
The blog is called the green spot because our tent is light green. Posts come from my girlfriend and me and the site is generated using the hugo blog generator. The code for the blog is hosted on GitHub including the theme.


